Wednesday, June 26, 2013

Our Blue Star finds its home.


With the tile being completed in the kitchen, it is time to move in our range with the help of this appliance "sled".  

This appliance mover acts like a hover-craft, using compressed air to inflate the two rectangular pieces which have been slid under the stove.

Turn it on, and they inflate and are able to lift up to 800 pounds with ease.  No scratching the floor or hurting
the back!

Deflate the pads and slide them back out and you are done.

Our Blue Star Range.
Posted by Picasa

Saturday, June 22, 2013

Kitchen Tile


Tom has returned to put in the kitchen backsplash now that the cabinets and formica have been installed.

We chose a simple small subway tile in off white which complements the soft green counter top and the dark walnut cabinets.

The sink will be placed here to the right of the dishwasher and beneath my farmhouse style tiles I found in an antique store years ago.

Appropriate, don't you think!

Albert and my brother Paul resting after moving in the kitchen stove, clawfoot tub, and refrigerator.  Thanks again for the extra muscle, Paul!

While the appliances were being moved in, I finished up painting the exterior door to the North.  The porch post does not look so out of place now that the door matches it in color.

And a shot of some of the foundation plantings we have placed, here on the South side.
Posted by Picasa

Thursday, May 23, 2013

Walnut Cabinets


Today the custom made walnut cabinets began to be installed in the kitchen.
Albert is doing some last minute patching on the floor where the stove will be placed.

Gary the cabinet maker also does his own installing.  This cabinet is where the kitchen sink will be placed.

A dishwasher will be in the first cabinet, then the sink, followed by a three drawer set.  The lower drawers will be finished tomorrow, however the doors will not be installed for a few more days.  

You can see where the stove will sit.  The wire dangling out is for the hood fan.

A five drawer set for the peninsula.

This is looking into the kitchen from the dining room.  The shelving to the right will be kept open, no door on it .


Posted by Picasa

Wednesday, April 3, 2013

Concrete Work


Lots of pictures to post documenting the concrete work that has been done at Pioneer House.  Here is a shot of the forms for the walkway to the formal entry on the South side.

For the kitchen entry on the North side, we are putting in a larger patio and connecting the deck and the driveway with three foot sidewalks.

A little bend in the sidewalk to keep close to the flower bed.

Here are the steps formed up with lots of heavy debris filling the middle of them.  Less concrete cost that way.

The concrete for the steps is kept a bit drier so it will keep its form better while being shoveled into the step forms.  Not your typical flowing concrete as it is for the sidewalks.

Smoothing out the walkway in front of the deck.

Working on those steps before the rest of the concrete is poured.


Ah, looking good!

And a few stepping stones made out of the leftover concrete.
 

The extra wide walkway on the South side.

And the finished, broom swept concrete.  Forms will come off tomorrow and hopefully we will not find too many wild footprints in the morning.  
Posted by Picasa

Thursday, March 21, 2013

Finished Rooms


Whoo hoo!  We have some finished rooms. Almost.  As you can see in the above photo, the door leading out to the porch is not yet varnished, but who's counting?

Looking from the dining room into the parlor and library.

Parlor and library.

And below, a view out the dining room window looking at the root cellar.
 
Posted by Picasa

Monday, February 25, 2013

A Little More Molding


I know it has been a while since last posting, but it is not because we have not been working.  Above photo is the crown molding in the dining room,  all finished, caulked and painted.  I think it turned out fantastic and quite formal looking.

This photo above is a bit out of color, the ceiling is a softer shade of blue, but it does show the finished doorway into the kitchen.

We have the first coat of paint in the library.  Auburn in color, the same as Ellen's bedroom wainscot.  It matches well with the gas stove.

Here we have the finished wallpaper in the parlor. Still to do in this room are the chair rail, the crown molding and the base molding.  The never-ending molding........
And yes, the doorknobs.
Posted by Picasa

Thursday, January 24, 2013

New Doors


We have installed the new door to the deck.  It is the same style as the old door, but thicker and with better insulated glass.  The jamb is kerfed (there is a slot made into the wood) to allow for weather stripping integral to the jamb.

An exterior shot of the door.  New trim will have to be put in, and of course the door painted.  The same blue as the house, or an accent color?

Here is a close up of the egg shaped Schlage door knob and dead bolt.  

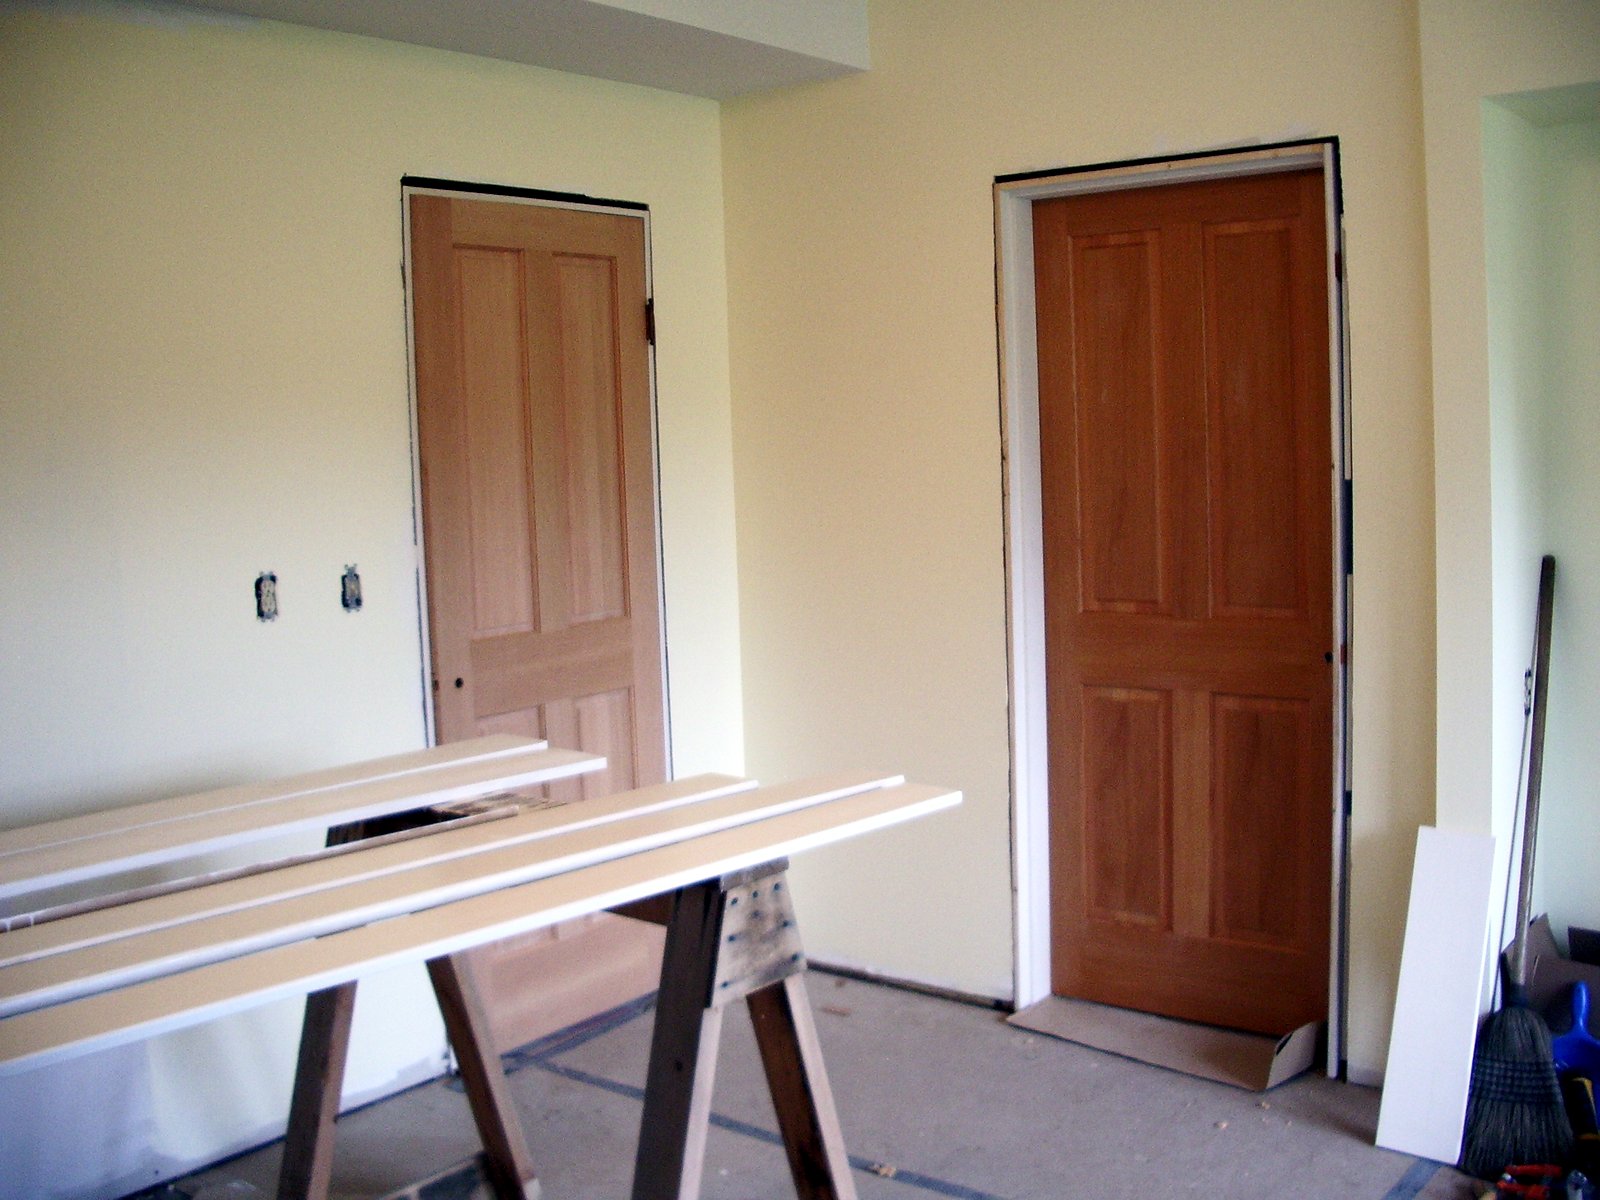
Here is a photo of the kitchen with the new interior doors installed.  The one to the right, into the dining room, has been varnished with a satin varnish.
We saved as many of the old doors as possible, some were too beaten up to be worth our while to repair.

And still the labor intensive molding going on. And on, and on.
Posted by Picasa