Monday, January 30, 2012

Ceiling demo

Above photo is of the parlor room ceiling being removed.  This is necessary because the floor joists need to be reinforced to not only correct the sagging ceiling but also to sturdy up the second floor.


It's a little dusty for Nathan as he is taking out the ceiling.


Above photo is of the dining room which will also have a reinforced ceiling.


This is the kitchen ceiling.  No need to reinforce here as this portion of the house was built much better.  We hope to be able to keep the bead board ceiling.  The portion being tore out below is where the upstairs plumbing (hopefully) will be chased.

The slanted part of the ceiling above is the stairway going upstairs.

Outside work consisted of putting up tar paper and trimming out the windows.

Thursday, January 26, 2012

Laundry and Kitchen entry flooring

The past few days we have been repairing the rotten parts of the laundry room and entryway.

This is the NE corner of the laundry room.  Rotten about 8-10 inches in.

Above is the SE corner, not quite as much rot.

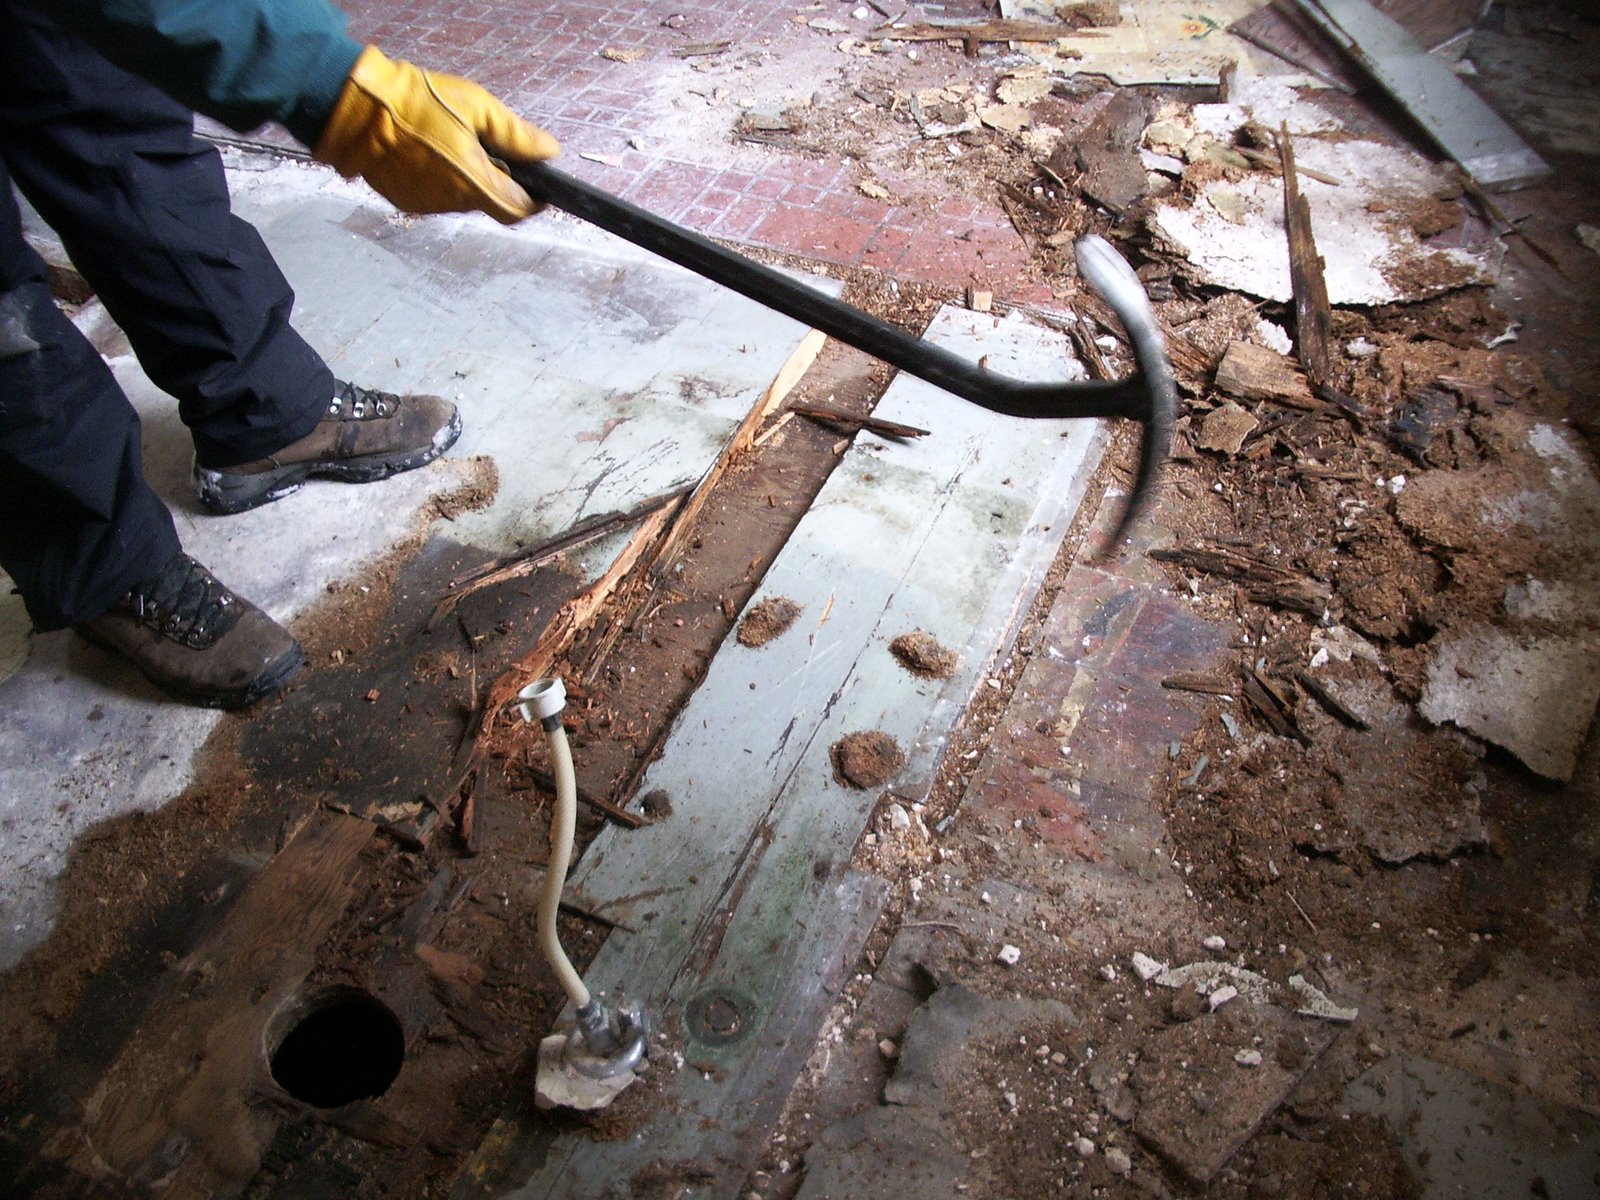
And again, where the laundry tub used to sit near the entryway.

Above photo is the entry way floor being torn up.  We decided to replace all the flooring.


Above photo is taken from the outside of the laundry room.  That is a new rim joist and the inside wall and the new floor being laid down.


Above is the same wall.  You can see the new flooring between the rim joist and the new sill plate, then the old wall studs.

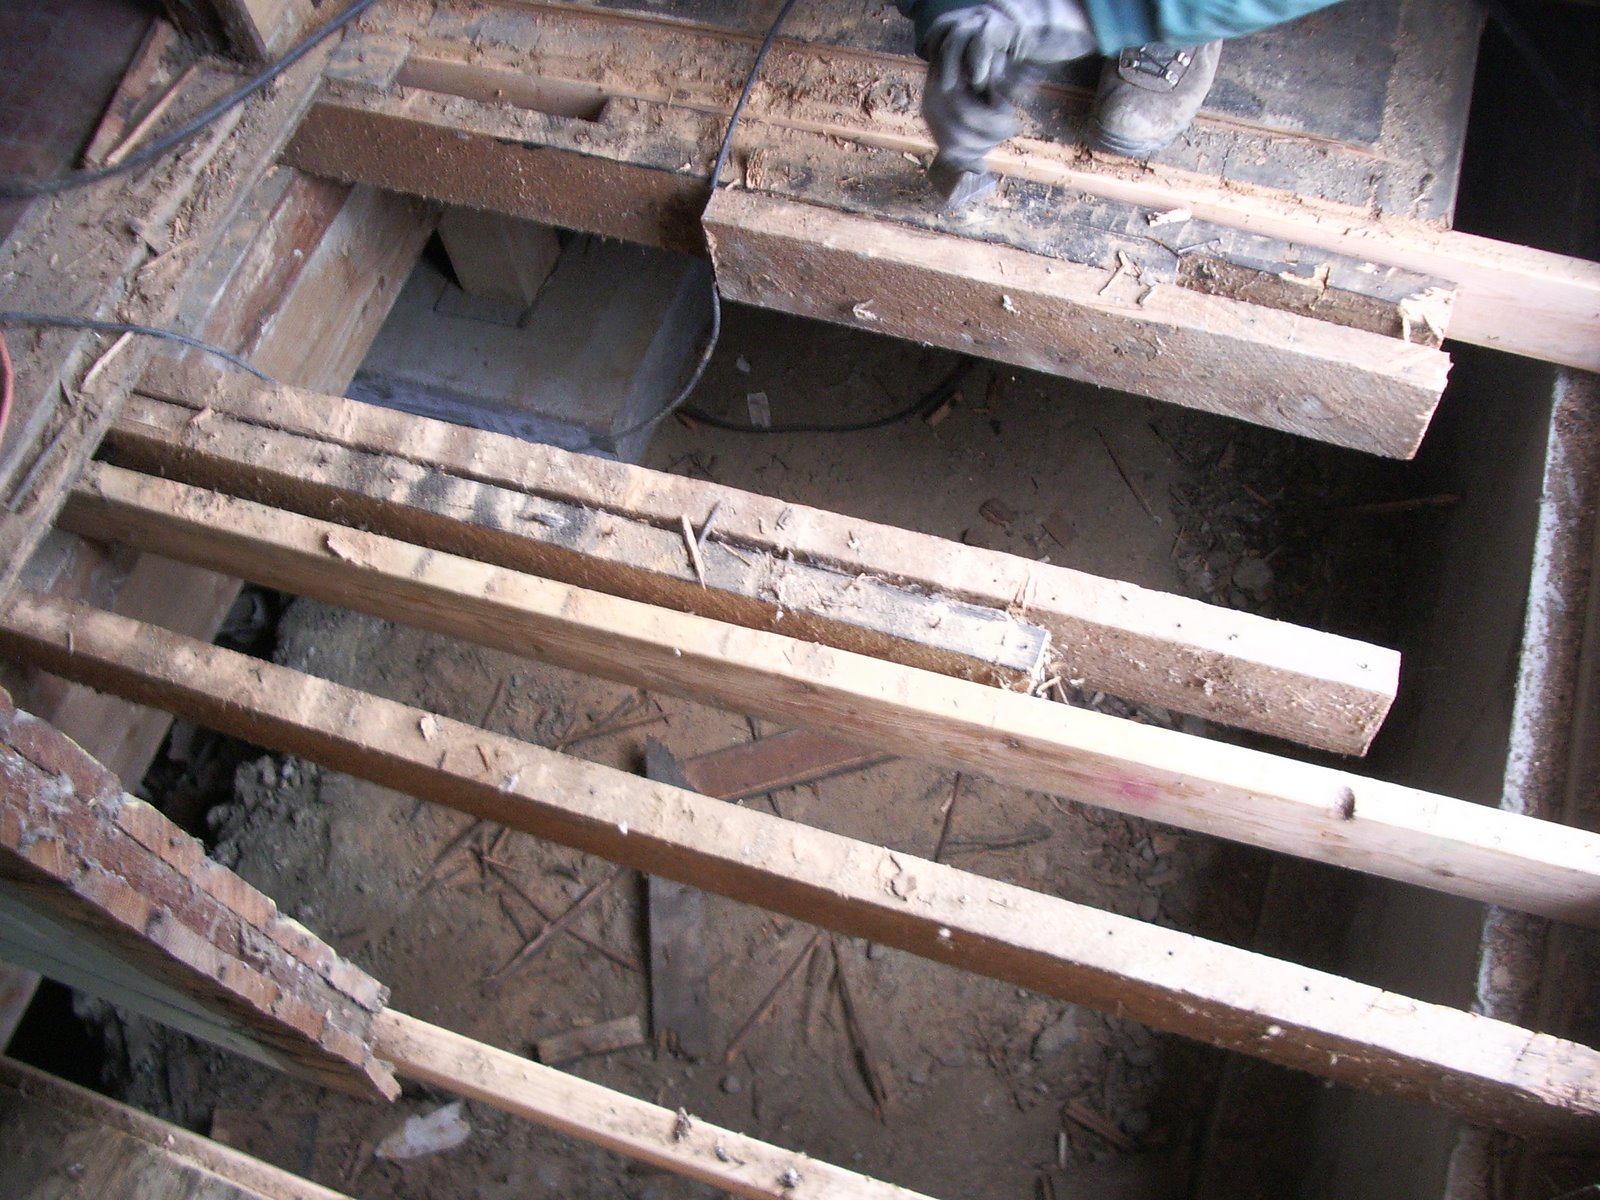
Above and below photo is the entryway opened up.  There are the new beams on 2 foot centers and several of the old original beams that we had cut to put the chute under the house to fill the last cribbing hole.


The repaired laundry floor.

And the new entry floor.

Last three photos are of several wallpapers we have uncovered in the kitchen.  Hey, cousins, anyone remember these designs?


Posted by Picasa

Wednesday, January 18, 2012

Snow Days

Western Washington has been hit with quite the snow storm for the last couple days.  Inside work it is!


Below photo is of the parlor flooring.  Two layers of lino and beneath them a layer of felt, then what we suspect is a fir floor.  That of course was quite common back in the day.  Hopefully we will be able to sand off the felt and refinish it into a lovely wood floor again.
And now to the bathroom floor, yuk.  Lots of damage here.  There is not a sheet of plywood in the house except where the toilet sat! 


That plywood turned into sawdust as soon as we tried to take it off.

The damage extended to the sub-floor as well. 

Below is our helper relaxing on her pillow.
Posted by Picasa

Wednesday, January 11, 2012

Interior and Exterior Work

Completing the ceiling joists in the kitchen nook.

Taking out the old joists allowed for a higher ceiling.

We are keeping the two windows in the laundry, just increasing the size of the smaller one to match the larger one.

The windows all cut into place in the kitchen and laundry.  We put up the old plastic storm windows to cover the openings.


Above photo is of the old porch roof we tore out, I've pulled off most of the asphalt shingles. And below photo shows many more sections of roof to go!

Posted by Picasa

Wednesday, January 4, 2012

Beginnings of kitchen layout

Today we are experimenting with the kitchen layout.  Above photo shows where we could put the cabinets along the back wall.  The two doors in the left corner will be blocked off.  Stove would be placed in the center back and sink in the peninsula.

Above photo shows the sink (with the lighter plywood) and dishwasher to the right.  The refer could be recessed into the wall that holds the original cabinet.  Of course, this would entail taking out that pass through which is unique to this old house.  It seemed like we had a lot of room in the kitchen but when laying out the appliances and cabinets it shrinks the space considerably.

Albert installed the temporary outside door.  When we decide on a permanent door we will replace this one but in the meantime, we needed the house to at least begin to be secure!    (as you are looking at a plastic window to the right!)
Posted by Picasa

Sunday, January 1, 2012

New Year's Day

Happy New Year 2012!
Today we tore out the bathroom walls.

Here the wall separating the pantry and bathroom is removed.


A GE automatic electric sink?  This must have been the shipping container.  It was used as part of the  backing in the bathroom with wallpaper on the other side.

This was what was found when the false ceiling of the bathroom was removed.  Hidden electrical junction boxes, unused ceiling fixtures, and lots of wires. 


Posted by Picasa